Friday, March 22, 2013

Fireworks in a Jar

Are your kids bored today? Here is something super easy to do with them and you are bound to have all the needed supplies right in your pantry! SCORE!

Supplies needed:
2 small jars (We used baby food jars)
1 large jar (we used quart size jars)
oil
water
food coloring
forks

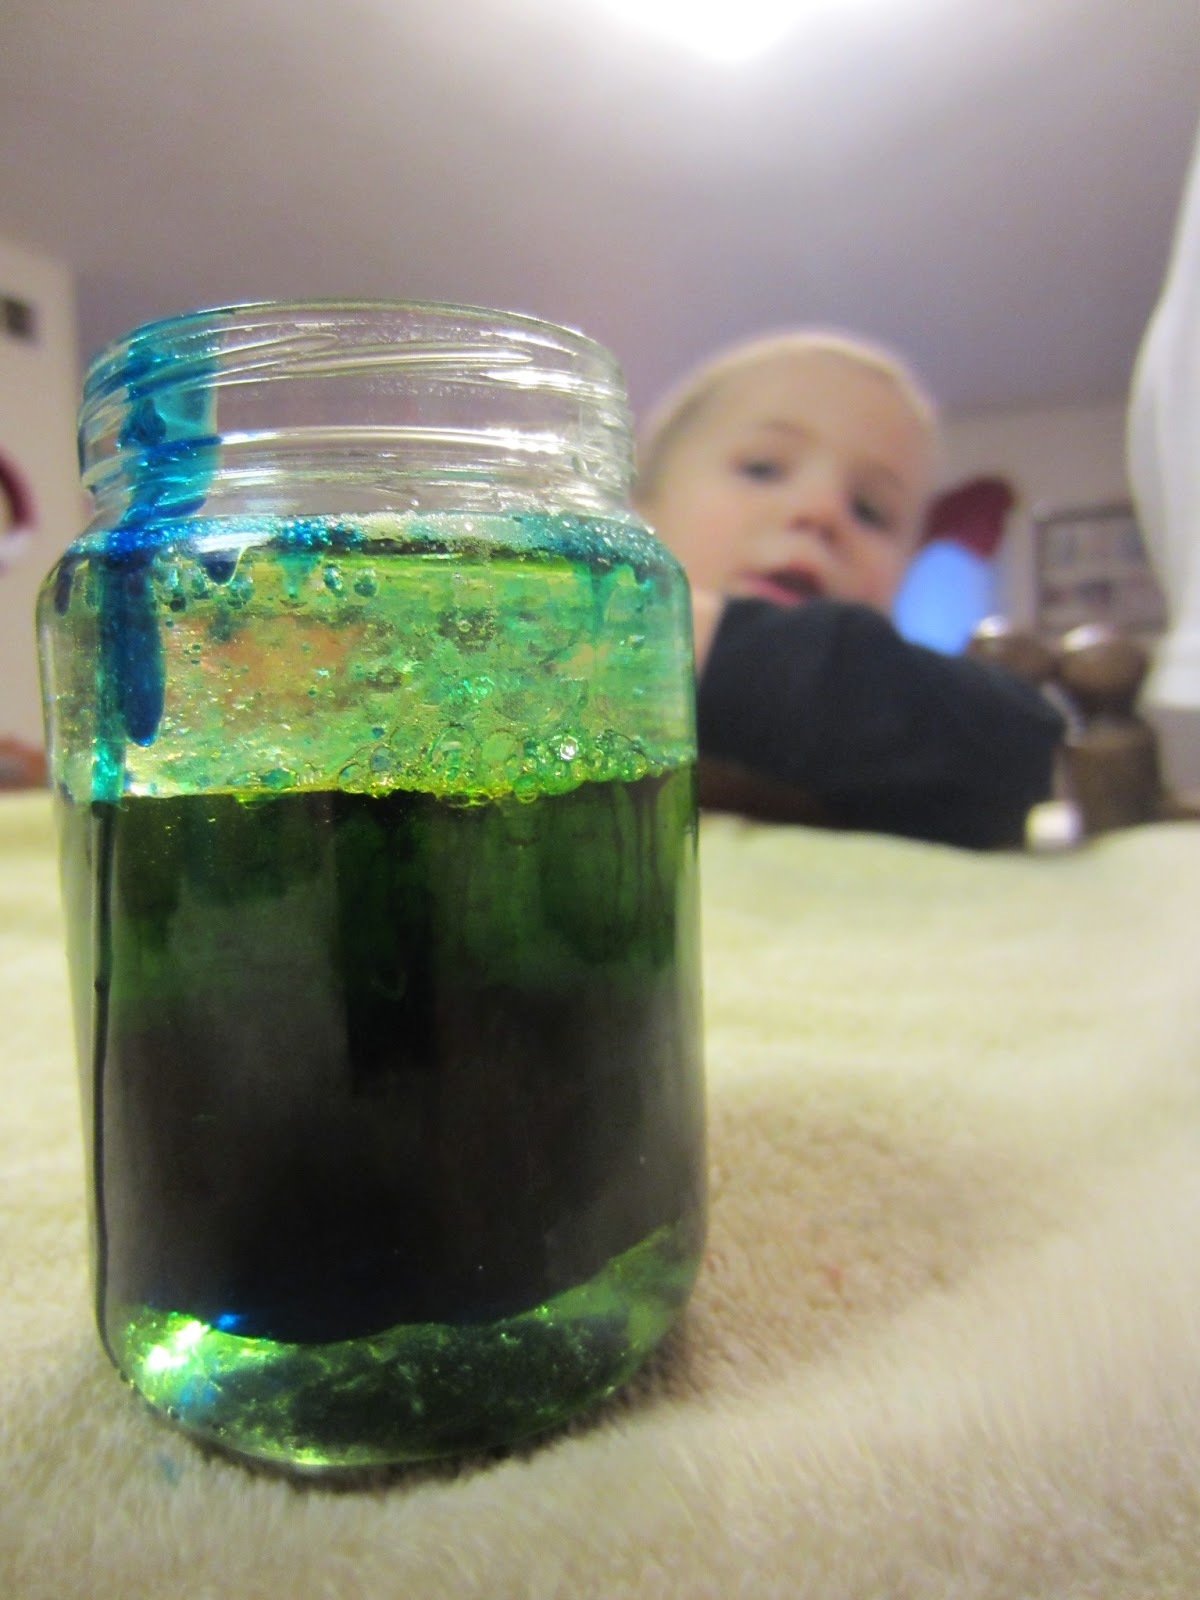
To start off the experiment what you will need to do it put about 1/4 cup of oil into each of the two small jars. Then take 3-4 different colors of food coloring and SLOWLY add drops of each color into the oil.  Eli's jar is shown below.
Ezekiels jar is shown below here. We put the drops in two fast and they kind of exploded and mixed together. This will be a negative key factor later on in the project so make sure you add them SLOWLY. 
Next take a picture of your cute kids...see Micah in the back? He was enjoying a snack. Ignore Mr. Booger-face on the left. His nose has been a fountain lately.
I made sure to keep the quart size jars away from the boys until it was time to pour in the oil. Otherwise the boys like to jump the train so to speak and don't wait for instructions. We are working big time on listening skills, especially with these fun science experiments. After you have the food coloring added to the oil take a fork and slowly stir, breaking up the food coloring into little beads. Then fill your quart size jars about 3/4 ths of the way full with warm water. 
Zeke went first. He poured the oil/food coloring mixture into his water first.

But because his food coloring was put in to fast and had spread around in the oil it caused the fireworks to not work. The food coloring just sunk right away out of the oil into the water and spread around in the water resulting in a big dark blob....they still thought it was awesome. :)
Here is Zeke's jar once the food coloring was spread. We then talked about how the water and oil were seperate and do not mix due to different densities...not that they had a clue about what I was saying. 
Next was Eli's turn to mix. He poured the oil/food coloring mix in slower than zeke and the oil stayed at the top and contained the food coloring leaving a cool speckled look to it but wait...

very slowly the food coloring starts to sink to the bottom of the oil and starts touching the water. Once it touches the water it shoots out of the oil like FIREWORKS and looks so awesome and pretty!
As the oil continues to travel from oil to water it spreads though out the rest of the water in the jar.
The boys LOVED this. I did as well. It was so pretty and fun to watch...
and we watched....
and we watched and talked...until the water was pretty much a big blob of darkness.
And because they still had their forks sitting next to them they of course had to mix up their concoctions a little more. (not that it did anything but it was still fun)
After the fireworks were over we started to talk about the oil sitting on top of the water again and they lot interest at that point. But if your looking for something fun to do with your kids on a gloomy day this is a great one to try out. 

Thursday, March 21, 2013

Science 1o1

Mommy, can we do a craft?
Mommy, can we play in rice?
Mommy, we want to make a mess!

Okay so maybe they don't say that last one but that is what I hear when they ask for those other things. A mess. But here is the thing with me...I really don't mind the mess. I am the mom who stands back and watches her child smash three different colors of playdoh together. Yes, I really did say that! It doesn't bother me. It used to but after watching my boys learn and explore while doing these things it really does not bother me. Mommy, can we paint? Sure, why not? Just take off your shirts first!  So where am I going with this? Exploration, I feel, is something that is so important for my boys to be doing. I try and try to get them to sit down and work on letters or counting but they honestly could care less. So I figure if i can get them intrigued with a little exploration why not use it to my benifit and teach them with that. 

Our experiement for todays post was something I remember doing in my elementary school days. Liquids have different densities which can keep them from mixing together. 

Here is what you will need for this experiement:
5 clear containers (I used empty baby food jars size 2 and 3)
Water
Dish Soap
Baby Wash
Oil
(You can use different liquids, these are just what I had on hand. The baby wash and dish soap didn't seperate very well because they are pretty similar to each other)

orange-water (we added food coloring)
green-dish soap
blue - baby wash (with blue food coloring)
clear/yellow - oil

Pour equal amounts of each liquid into the jars. Keep one empty so you can combine them all together in it.
Slowly add, one at a time, the liquids into the jars. Eli and Zeke loved doing this part.


And then watch! We sat and watched the jar for about 20 minutes. 
watching....
watching...
The blue food coloring was probably a bad idea as it tinted the other liquids. I would recommend trying to find different liquids that are all ready a different color and you don't have to add food coloring to.
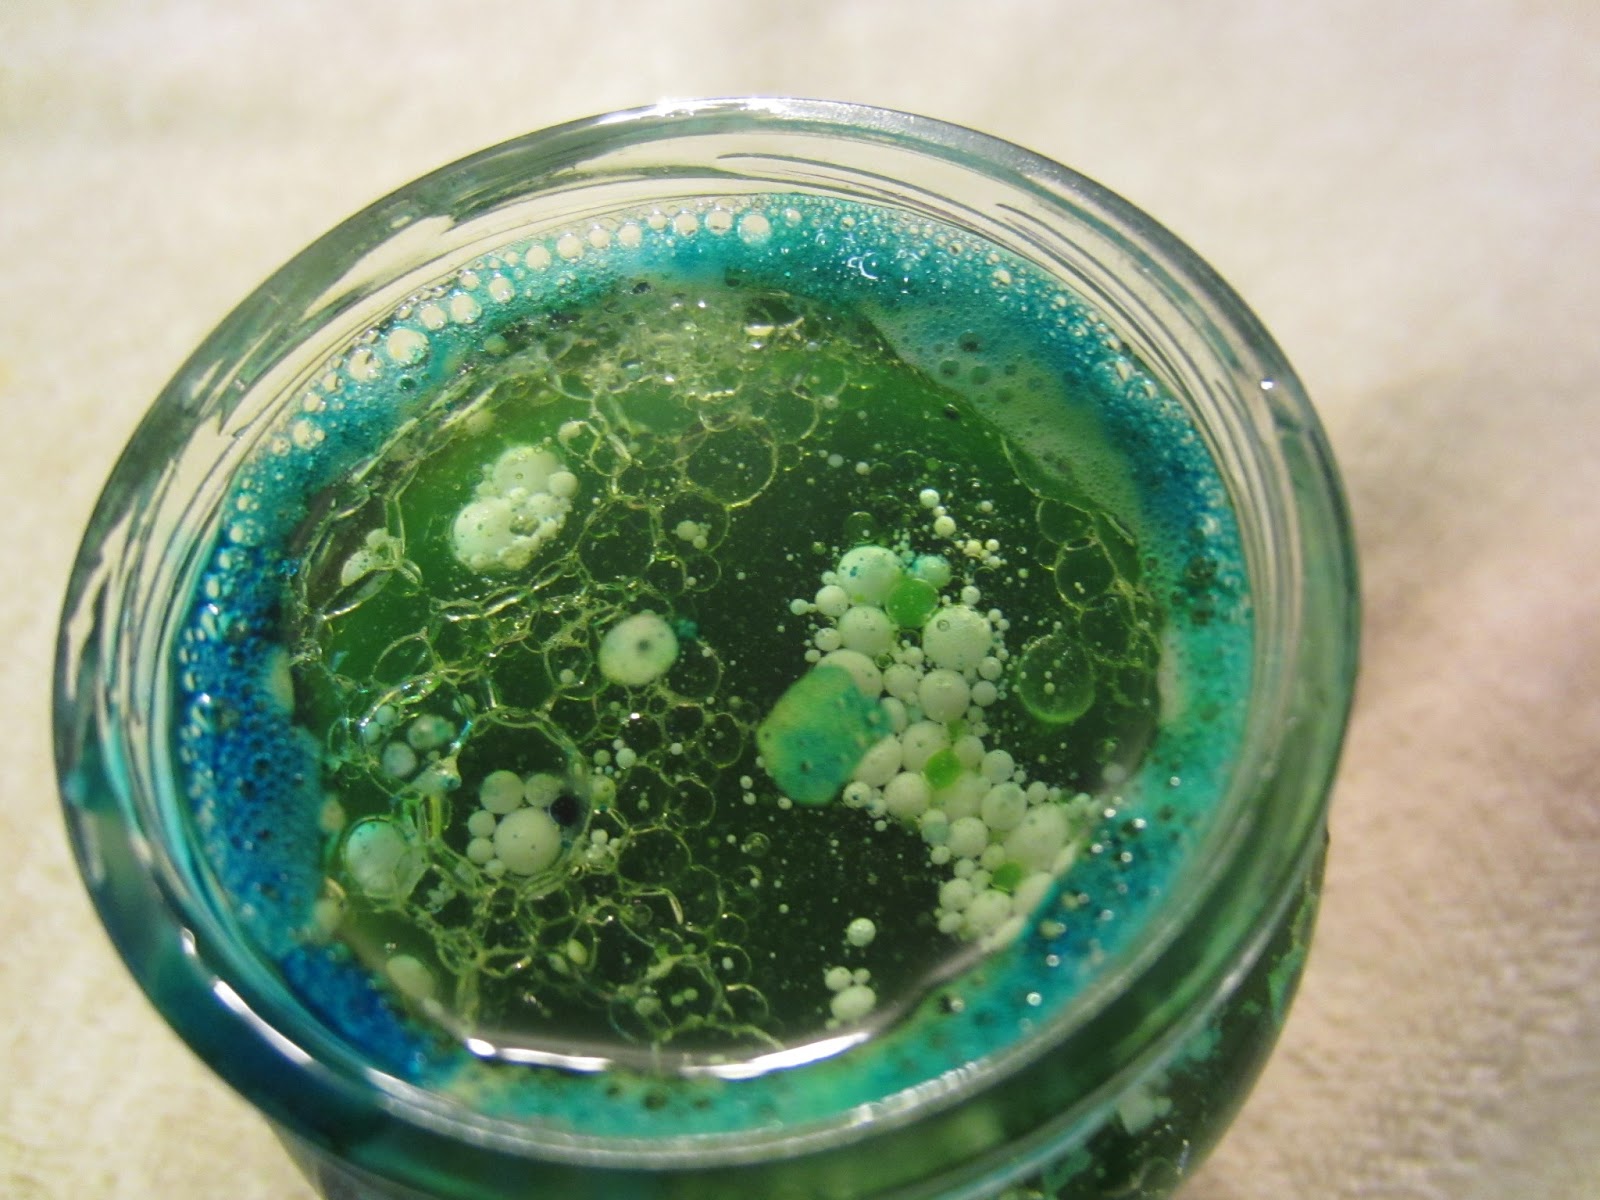
a view from the top
We decided to shine a flash light behind the jar to see if we could see the two middle layers better. Yup, it worked! You can see the different layers pretty good with the help of a little light. 
They thought this was so much fun to do. 

Then Daddy had a fun idea...add some milk! 

The milk is made of mostly fat and so it balled up in the liquid making little round clumps. The boys thought this was pretty awesome!
Ohhh thats pretty cool!

It was pretty fun exploring what happened when we mixed these all together and it was a great 'hands on' experiment for the boys to do. One tip to remember when doing these kinds of activities is to have every thing prepped and ready to go ahead of time so that when actual exploring is happening everything is ready and the boys can do it all on their own (with some cues from mommy of course).

Friday, March 01, 2013

Bartholomew and the Oobleck

Today is March 1st so we are kicking off  Reading month with non other than Dr. Seuss. Eli picked out a great book: Bartholomew and the Oobleck from our library so I decided to do some fun stuff with the boys based along the book. After breakfast I rounded up the boys and we read "Bartholomew and the Oobleck." Its a really fun book and the boys loved it.

 After we finished reading our book I gave the boys a coloring picture of the King from the book covered in Oobleck. This gave me some time to get all the stuff together for our next project.

 Nice shades of green for the Oobleck!
 Zeke coloring his king. Its the same picture as what is in the book.
 Eli working on his picture.
 Our first Oobleck recipe:
         -2 cups corn starch
         -1 cup water
        -food coloring

 The boys were finishing up their King pictures.
 We put 2 cups of corn starch in a large bowl. Then I let the boys touch and explore it...be warned...this is messy!
 I then filled a measuring cup with 1 cup of water and let the boys squirt food coloring into it. Make sure you add the food coloring to the water otherwise it will be next to impossible to mix it in once it hits the corn starch.
 The boys then mixed the coloring into the water
 We then poured the green water over top of the corn starch using TEAM WORK!

 It looks runny but it is very hard. It took a little work but with a strong wooden spoon I was finally able to get it mixed together fairly well.
 I then worked really hard and was able to get fairly equal parts of the Oobleck out onto cookie sheets for the boys so that they could play and explore the strange substance.
 Eli made some really cool hand prints in his. We had a lot of fun with this and talked about how the Oobleck looked and felt. They thought it would be squishy but it turns out it was really hard!

The second Ooblick recipe that we used was:

        -8oz of Elmers Glue
        -water
        -1 teaspoon of Borax
        -food coloring
 First step is to pour all the glue into a big bowl. After the bottle is empty fill it with warm water and shake it. Then pour the water into the bowl and mix it with the glue. Then add in your food coloring. The more you add the brighter your Oobleck will be. Mix in the food coloring and then set the bowl to the side. Next you take 1/2 a cup of warm-hot water and put 1 teaspoon of Borax into the water. Mix until the borax is dissolved. Then pour into the glue mixture and with a wooden spoon start stirring.
 Stirring will be pretty easy at first but then it gets a little tricky so I took over and helped out. Make sure you use a strong wooden spoon.
 It will gradually get clumpier and stickier. If it gets to hard to mix with the spoon then use your hands to mix it up. When there is no runny water or blue goo stuck to the sides of the bowl then your Oobleck is ready to play with. I was getting tired arms from mixing so I let it set a couple minutes while I put the ingredients away and then it finished mixing up well. Note that the food coloring will turn your hands colors! My boys hands are nice and blue now!
 Once the Oobleck was ready I pulled it out of the bowl and put it on a cookie sheet. The boys loved exploring this. It was kind of slimy and stretchy, rubbery and bouncy.
 So much fun!
 If you let it rest it will spread out like a puddle.
 stretchy!
 Here are the two ooblecks that we made this morning. The blue one I like way more. It is less messy and stays pretty contained. The green is fun to play with because it looks like a liquid but is hard. It does dry up and get crumbly but vacuums up nice enough. We decided that the blue recipe was more like the Oobleck from the book. If we make this again I will probably use yellow food coloring. Just because now the boys hands are so blue from playing with this and yellow might not look as bad. You can probably do the no food coloring route as well but how fun would that be? I might try some washable paint next time and see if that works at all. You can also use glow in the dark paint too!

 The boys playing away with their Oobleck
 And we had to get some trucks out too!
 Zeke
We Love Bartholomew and the Oobleck!